Menu DSL
Contents
Introduction
Menu model is used for the UI menu definition. Categories, trees, entries and the corresponding ui pages of the them could be defined in this model. Predefined process from BLIP DSL, perspective from Perspective DSL, table from Table DSL and dialog from Dialog DSL can be linked to the category, tree or entry.
When you click the entry Company under category Menu and tree Master data , the perspective Company will be shown on the web site: 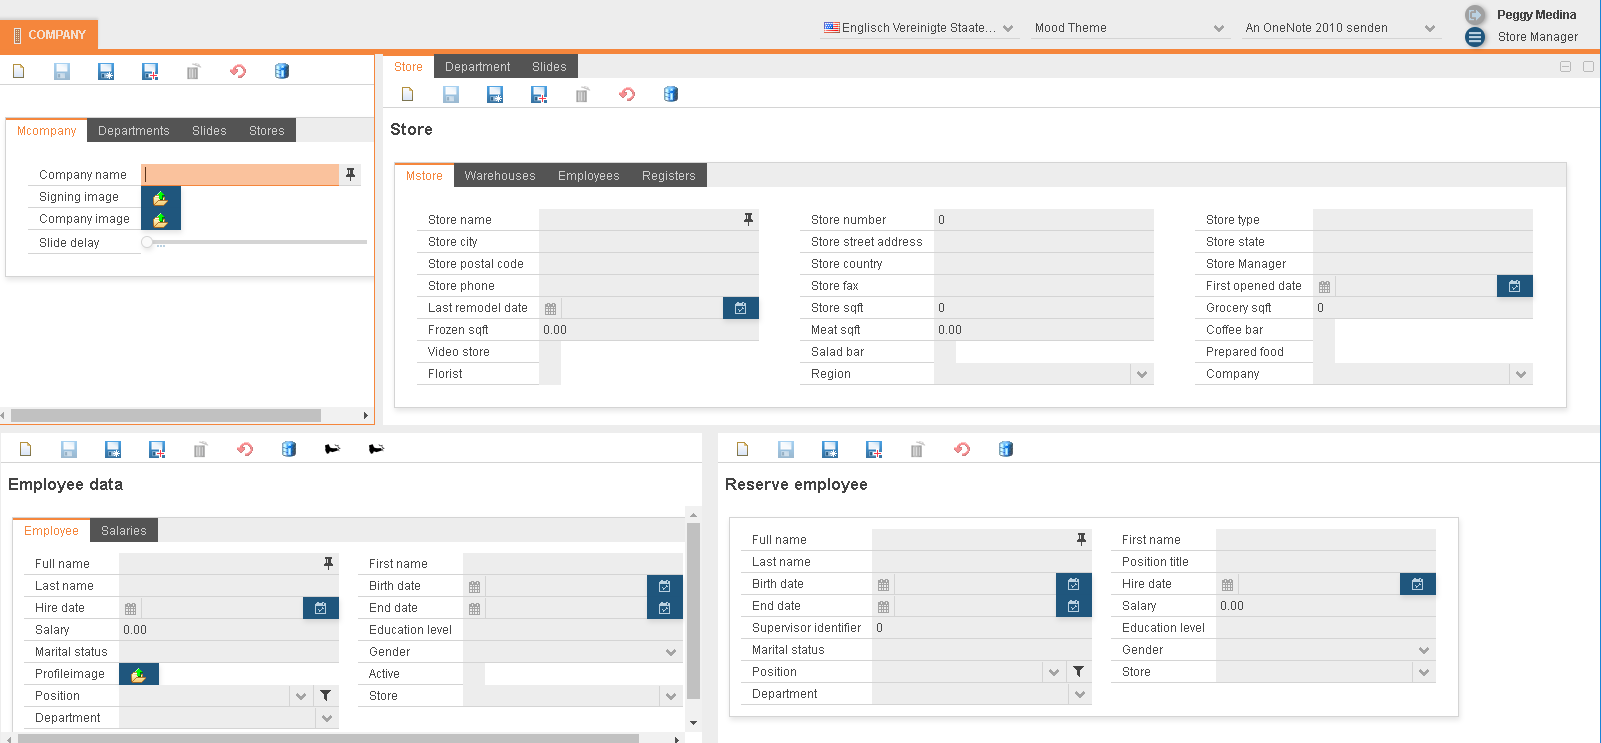
MenuDSL
The MenuDSL works for Os.bee models, it defines the Menus for dialog.
The main semantic elements of the MenuDSL are:
- “package” - the root element that contains all the other elements. A model can contain multiple packages.
- “category” - define the menu category.
- “tree” - define the menu tree under category.
- “entry” - define the menu entry under tree.
Syntax
package definition
► Syntax:
package <package name>[{
	expandedImage <expandedImage String> collapsedImage <collapsedImage String>
	[height <height String>]
	[width <width String>]
	[designer]

	<MenuCategory>
	. . .
}]
For each menu package, 2 .java file named <project name>+Menu.java and <project name> +Menu+ContextFunction.java will be generated in folder ./src-gen/<package name>/.
► Example:
package net.osbee.sample.foodmart.menues {

	expandedImage "collapse_arrow_16" collapsedImage "expand_arrow_16"
	width "600px" designer
	category Menu . . . { . . . }
	. . .
}
- One or more menu categories can be defined in the same package.
- Keyword expandedImage and collapsedImage is used to define the menu image when the menu expanded or collapsed. Following code will be generated in <project name>+Menu.java file:
public void setIcon(final Accordion accordion, final boolean open) {
    Tab tab = accordion.getTab(selectedMap.get(accordion));
    if (tab != null) {
    	if(open) {
    		tab.setIcon(themeResourceService.getThemeResource(
<expandedImage String>, ThemeResourceType.ICON));
    	} else {
    		tab.setIcon(themeResourceService.getThemeResource(
<collapsedImage String>, ThemeResourceType.ICON));
    	}
    }

  }
- Keyword height and width are optional; you can use this keyword to define the height and width of this menu, default value is 400px. Following code will be generated in
<project name>+Menu.javafile:
accRoot.setHeight(<height String>);
accRoot.setWidth(<width String>);
- Keyword designer is optional; you can use this keyword to define if this menu could be modified. Following code will be generated in
<project name>+Menu.javafile:
if (designModeHandler != null && userAccessService.isSuperuser()) {
	MenuBar menubar = new MenuBar();
	tabRoot.addComponent(menubar);
	MenuItem designer = menubar.addItem(designerText, null, null);
	MenuItem mode = designer.addItem(designmodeText, null, new MenuBar.Command() {
		public void menuSelected(MenuItem selectedItem) {
			designModeHandler.execute(selectedItem);
		}
	});
	mode.setCheckable(true);
	menuItems.put(designerUndoHandler, designer.addItem(undoText, null, new MenuBar.Command() {
		public void menuSelected(MenuItem selectedItem) {
			designerUndoHandler.execute(selectedItem);
		}
	}));
	menuItems.put(designerRedoHandler, designer.addItem(redoText, null, new MenuBar.Command() {
		public void menuSelected(MenuItem selectedItem) {
			designerRedoHandler.execute(selectedItem);
		}
	}));
	designer.addSeparator();
	menuItems.put(newPerspectiveHandler, designer.addItem(newText, null, new MenuBar.Command() {
		public void menuSelected(MenuItem selectedItem) {
			newPerspectiveHandler.execute(selectedItem);
		}
	}));
	menuItems.put(changePerspectiveHandler, designer.addItem(changeText, null, new MenuBar.Command() {
		public void menuSelected(MenuItem selectedItem) {
			changePerspectiveHandler.execute(selectedItem);
		}
	}));
	menuItems.put(exportPerspectiveHandler, designer.addItem(exportText, null, new MenuBar.Command() {
		public void menuSelected(MenuItem selectedItem) {
			exportPerspectiveHandler.execute(selectedItem);
		}
	}));
	menuItems.put(downloadPerspectiveHandler, designer.addItem(downloadText, null, new MenuBar.Command() {
		public void menuSelected(MenuItem selectedItem) {
			downloadPerspectiveHandler.execute(selectedItem);
		}
	}));
}
This is one of the main parts of this model. All the menu category details can be defined here.
► Syntax:
category  <category name>
	[
	table <RefTable> |
	dialog <RefDialog> |
	userFilter |
	keyBinding |
	systemSettings
	{
	[<MenuTree>]*
 }]
- Keyword table is used to define the predefined table from Table DSL which this category links to.
- Keyword dialog is used to define the predefined dialog from Dialog DSL which this category links to.
- Keyword userFilter are used to define if the user filter will be shown. Following code will be generated in <project name>+Menu.java file:
if (userAccessService.isSuperuser()) {
    VerticalLayout tab+<entry name> = new VerticalLayout();
    userFilter.createView(tab+<entry name>);
    acc<parent name>.addTab(tab+<entry name>, <entry name>, themeResourceService.getThemeResource(<collapsedImage String >, ThemeResourceType.ICON));
    tabs.put(acc<parent name>.getTab(tab+<entry name>), new Pair(<entry name>,<entry description>));
    }
- Keyword keyBinding is used to define if the key binding works for this category.
- Keyword systemSettings is used to define if the system settings works for this category.
- One or more Menu Tree can be defined in the same category.
This is one of the main parts of this model. All the menu tree details can be defined here.
► Syntax:
tree <tree name>
	[tooltip "<TipString>"]
	{
	[<MenuEntry>]*
 }
- Keyword tooltip is used to define the tip string for this tree.
- One or more Menu Entry can be defined in the same tree.
MenuEntry
► Syntax:
entry < entry name>
	[icon "<IconString>"]
	process <RefBlip> |
	perspective <RefPerspective>
- Keyword icon is used to define the icon tip string for this entry. .
- Keyword process is used to define the predefined process from BLIP DSL which this entry links to.
- Keyword perspective is used to define the predefined perspective from Perspective DSL which this entry links to.
Example
► Example:
category Menu {
	tree MasterData tooltip "masterDataTooltip" {
		entry Company icon "company" perspective Company
		entry Employees icon "employee" perspective Employee
		entry Products icon "products" perspective Products
		entry CashRegisterData icon "editor_area" perspective CashMasterDataRegister
		entry Currencies icon "products" perspective Currencies
	}
	tree BI tooltip "biTooltip" {
		entry TopProducts icon "products" perspective TopProducts
	}
	tree Administration tooltip "administrationTooltip" {
		entry userAdministration icon "task_action_delegate" perspective UserAdministration
	}
	tree Sales tooltip "salesTooltip" {
		entry CashRegister icon "cashregister" perspective CashRegister
	}
}
category Tasks {
	tree Sales tooltip "salesTooltip" {
		entry ProductMaintenance icon "products" process ProductMaintenance
		entry ListingSales icon "filter_multiple" process Listing
	}
	tree Management tooltip "managementTooltip" {
		entry EverythinNeedsToBeDone icon "dsl_aggregate" process MultipleEndEventsEverythinNeedsToBeDone
		entry FirstComesFirstServes icon "bike" process MultipleEndEventsFirstComesFirstServes
		entry SampleInclusiveOrGateway icon "reload" process SampleInclusiveOrGateway
		entry SampleCallService icon "persp_management" process SampleCallService
	}
}
category MyTasks table TaskMenu
category Profile dialog UserAccount
category Settings systemSettings
category UserFilter userFilter
category KeyBinding keyBinding
In the examples, the
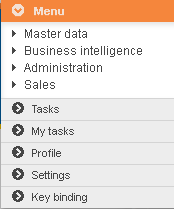
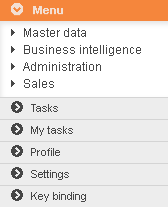
the first category named Menu and it has 4 trees : MasterData,BI,Administration and Sales.
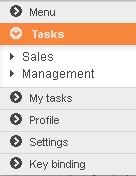
The second category named Tasks and it has 2 trees : Sales and Management.
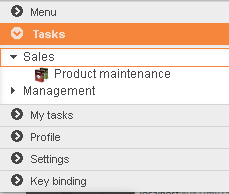
For each tree, one or more entry are defined under the tree. For example, both categories have a tree named Sales:
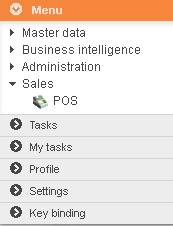
- The tree Sales under category Menu has an entry named CashRegister. It has an icon cashregister and links to a predefined perspective named CashRegister from Perspective DSL.
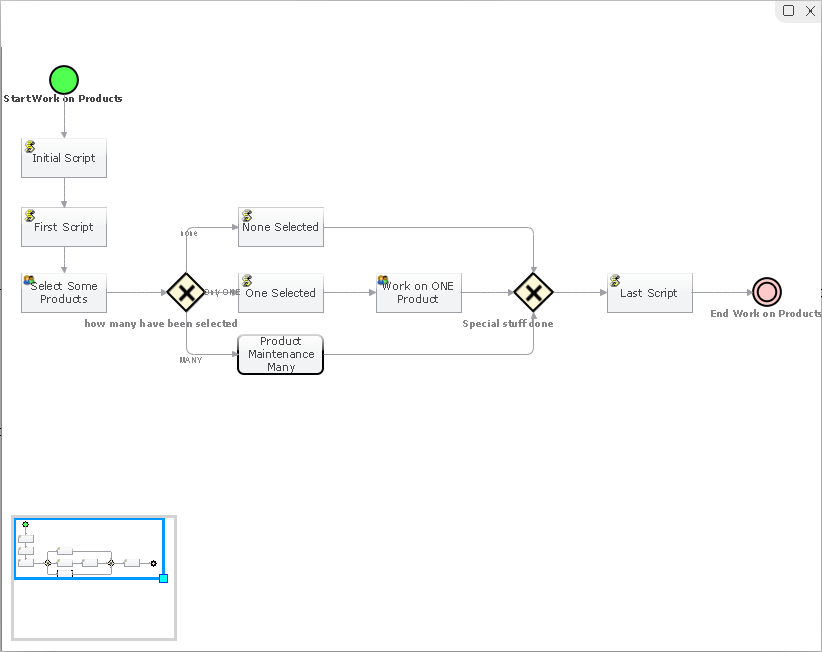
- The tree Sales under category Tasks has an entry named ProductMaintenance. It has an icon products and links to a predefined process named ProductMaintenance from BLIP DSL.
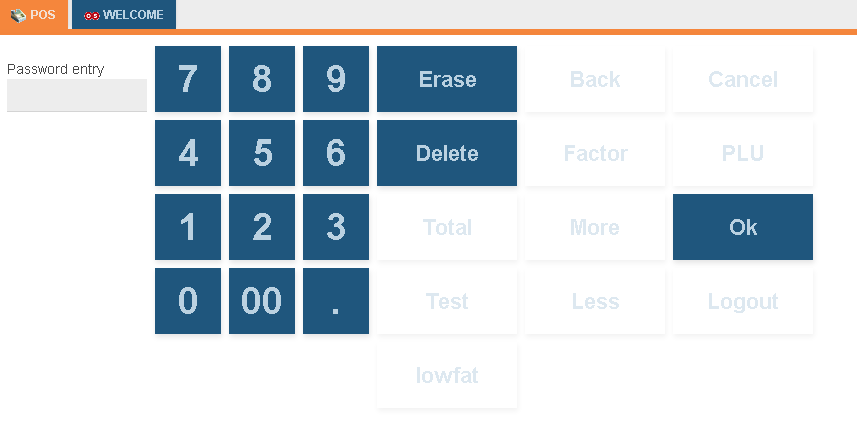
By clicking the other category Profile, the embedded dialog will be shown directly in menu: 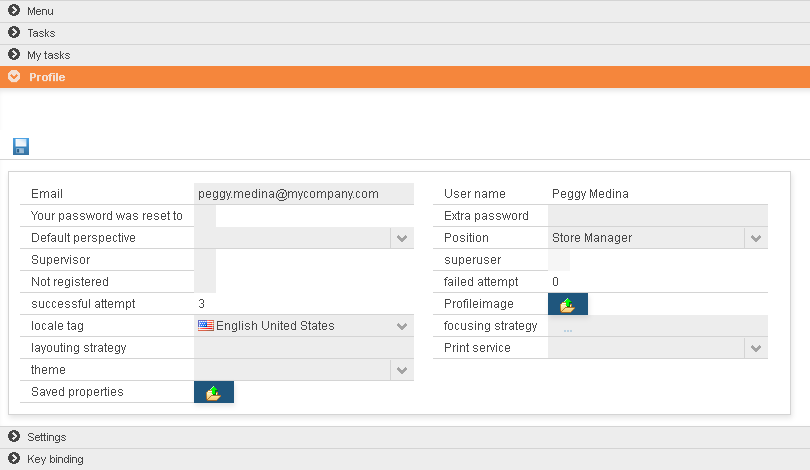
By clicking the other category Settings , the system setting options will be shown directly in menu: 
By clicking the other category KeyBinding , the key binding tips will be shown directly in menu: 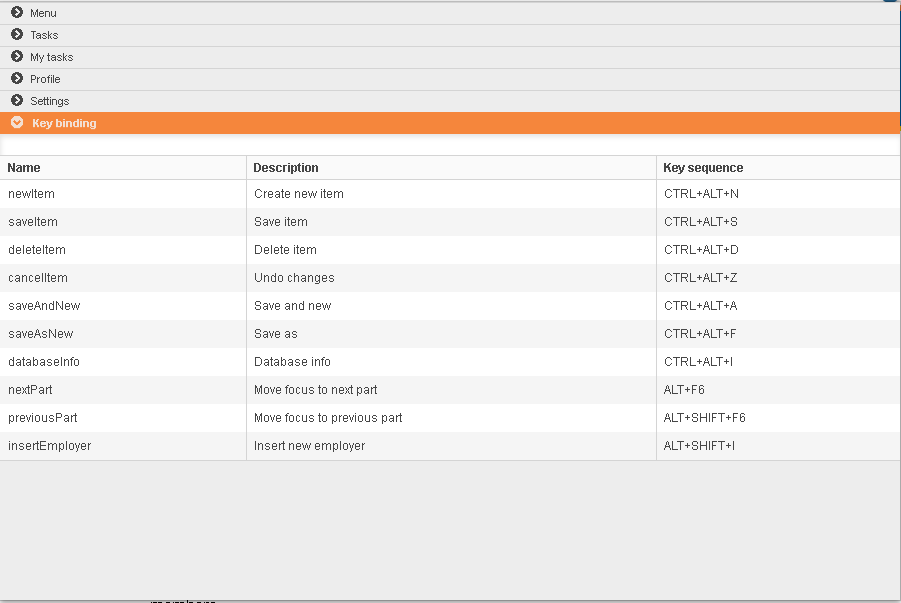
Copyright Notice
All rights are reserved by Compex Systemhaus GmbH. In particular, duplications, translations, microfilming, saving and processing in electronic systems are protected by copyright. Use of this manual is only authorized with the permission of Compex Systemhaus GmbH. Infringements of the law shall be punished in accordance with civil and penal laws. We have taken utmost care in putting together texts and images. Nevertheless, the possibility of errors cannot be completely ruled out. The Figures and information in this manual are only given as approximations unless expressly indicated as binding. Amendments to the manual due to amendments to the standard software remain reserved. Please note that the latest amendments to the manual can be accessed through our helpdesk at any time. The contractually agreed regulations of the licensing and maintenance of the standard software shall apply with regard to liability for any errors in the documentation. Guarantees, particularly guarantees of quality or durability can only be assumed for the manual insofar as its quality or durability are expressly stipulated as guaranteed. If you would like to make a suggestion, the Compex Team would be very pleased to hear from you.
(c) 2016-2026 Compex Systemhaus GmbH
